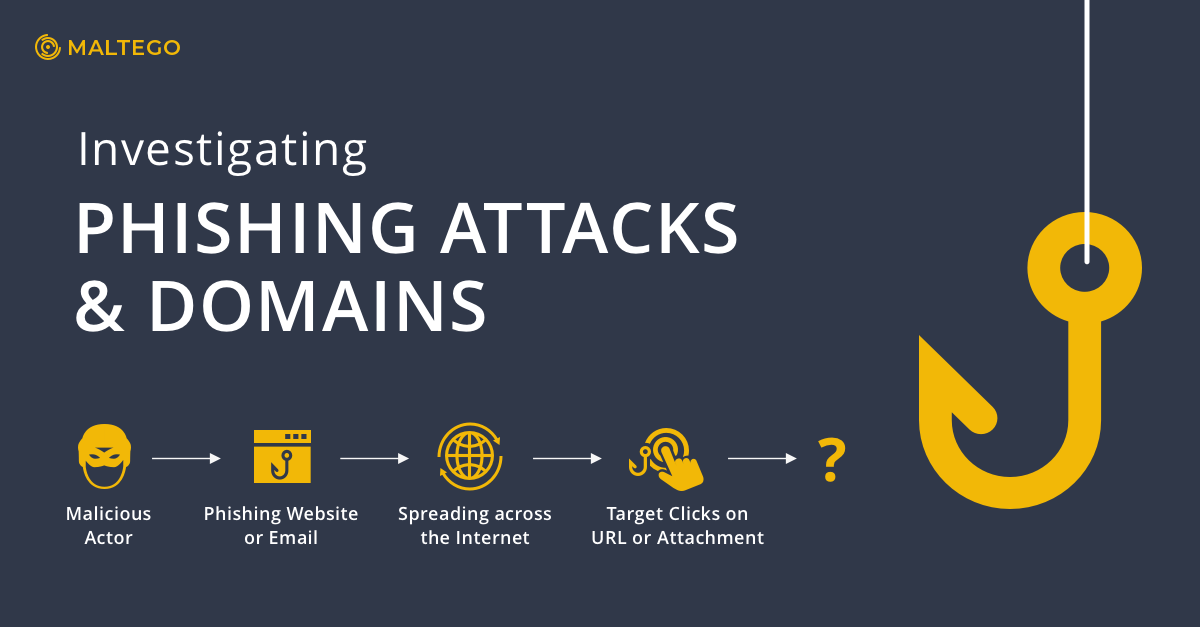
Phishing is a common method used by hackers and malicious actors to steal critical information or compromise a computer or network with malware or a virus. In Part 1 of our Phishing Attacks blog series, we discussed how a phishing attack is typically carried out and how to identify the common tell-tale signs.
But what actions should we take when we encounter a phishing attack? Besides simply avoiding clicking on suspicious URLs or attachments, we can perform a quick Maltego investigation to confirm the phishing attempt and estimate its threat level. In this article, we will demonstrate one of the simplest ways to investigate a suspect phishing domain using Maltego.
Phishing Attacks Part 1: What You Should Know About Phishing Activities Phishing Attacks Part 2: Investigating Phishing Attacks (Reading Now)Phishing Attacks: A Two-Part Maltego Blog Series 🔗︎

Investigating Phishing Attacks: Best Practices & Guidelines 🔗︎
Phishing investigations are conducted for many reasons:
- To report attribution to law enforcement
- To conduct threat analysis
- To improve internal cybersecurity policies and conduct awareness training
Because malicious attackers attempt to hide behind fake phishing websites and email addresses, people assume that it is virtually impossible to track them down. However, internet activities leave footprints, and these footprints can often be uncovered by conducting an investigation using open source intelligence (OSINT).
Phishing Investigations with Maltego Transforms 🔗︎
As a graphical link analysis tool, Maltego allows users to access OSINT data as well as third-party threat intelligence by running Transforms. Transforms query data sources and return a graph depicting data relationships, allowing investigators to visualize and map a threat network quickly and easily.
Let’s walk through a typical phishing investigation that can be conducted using Maltego.
Watch this five-minute video to learn how this standard workflow work in Maltego:
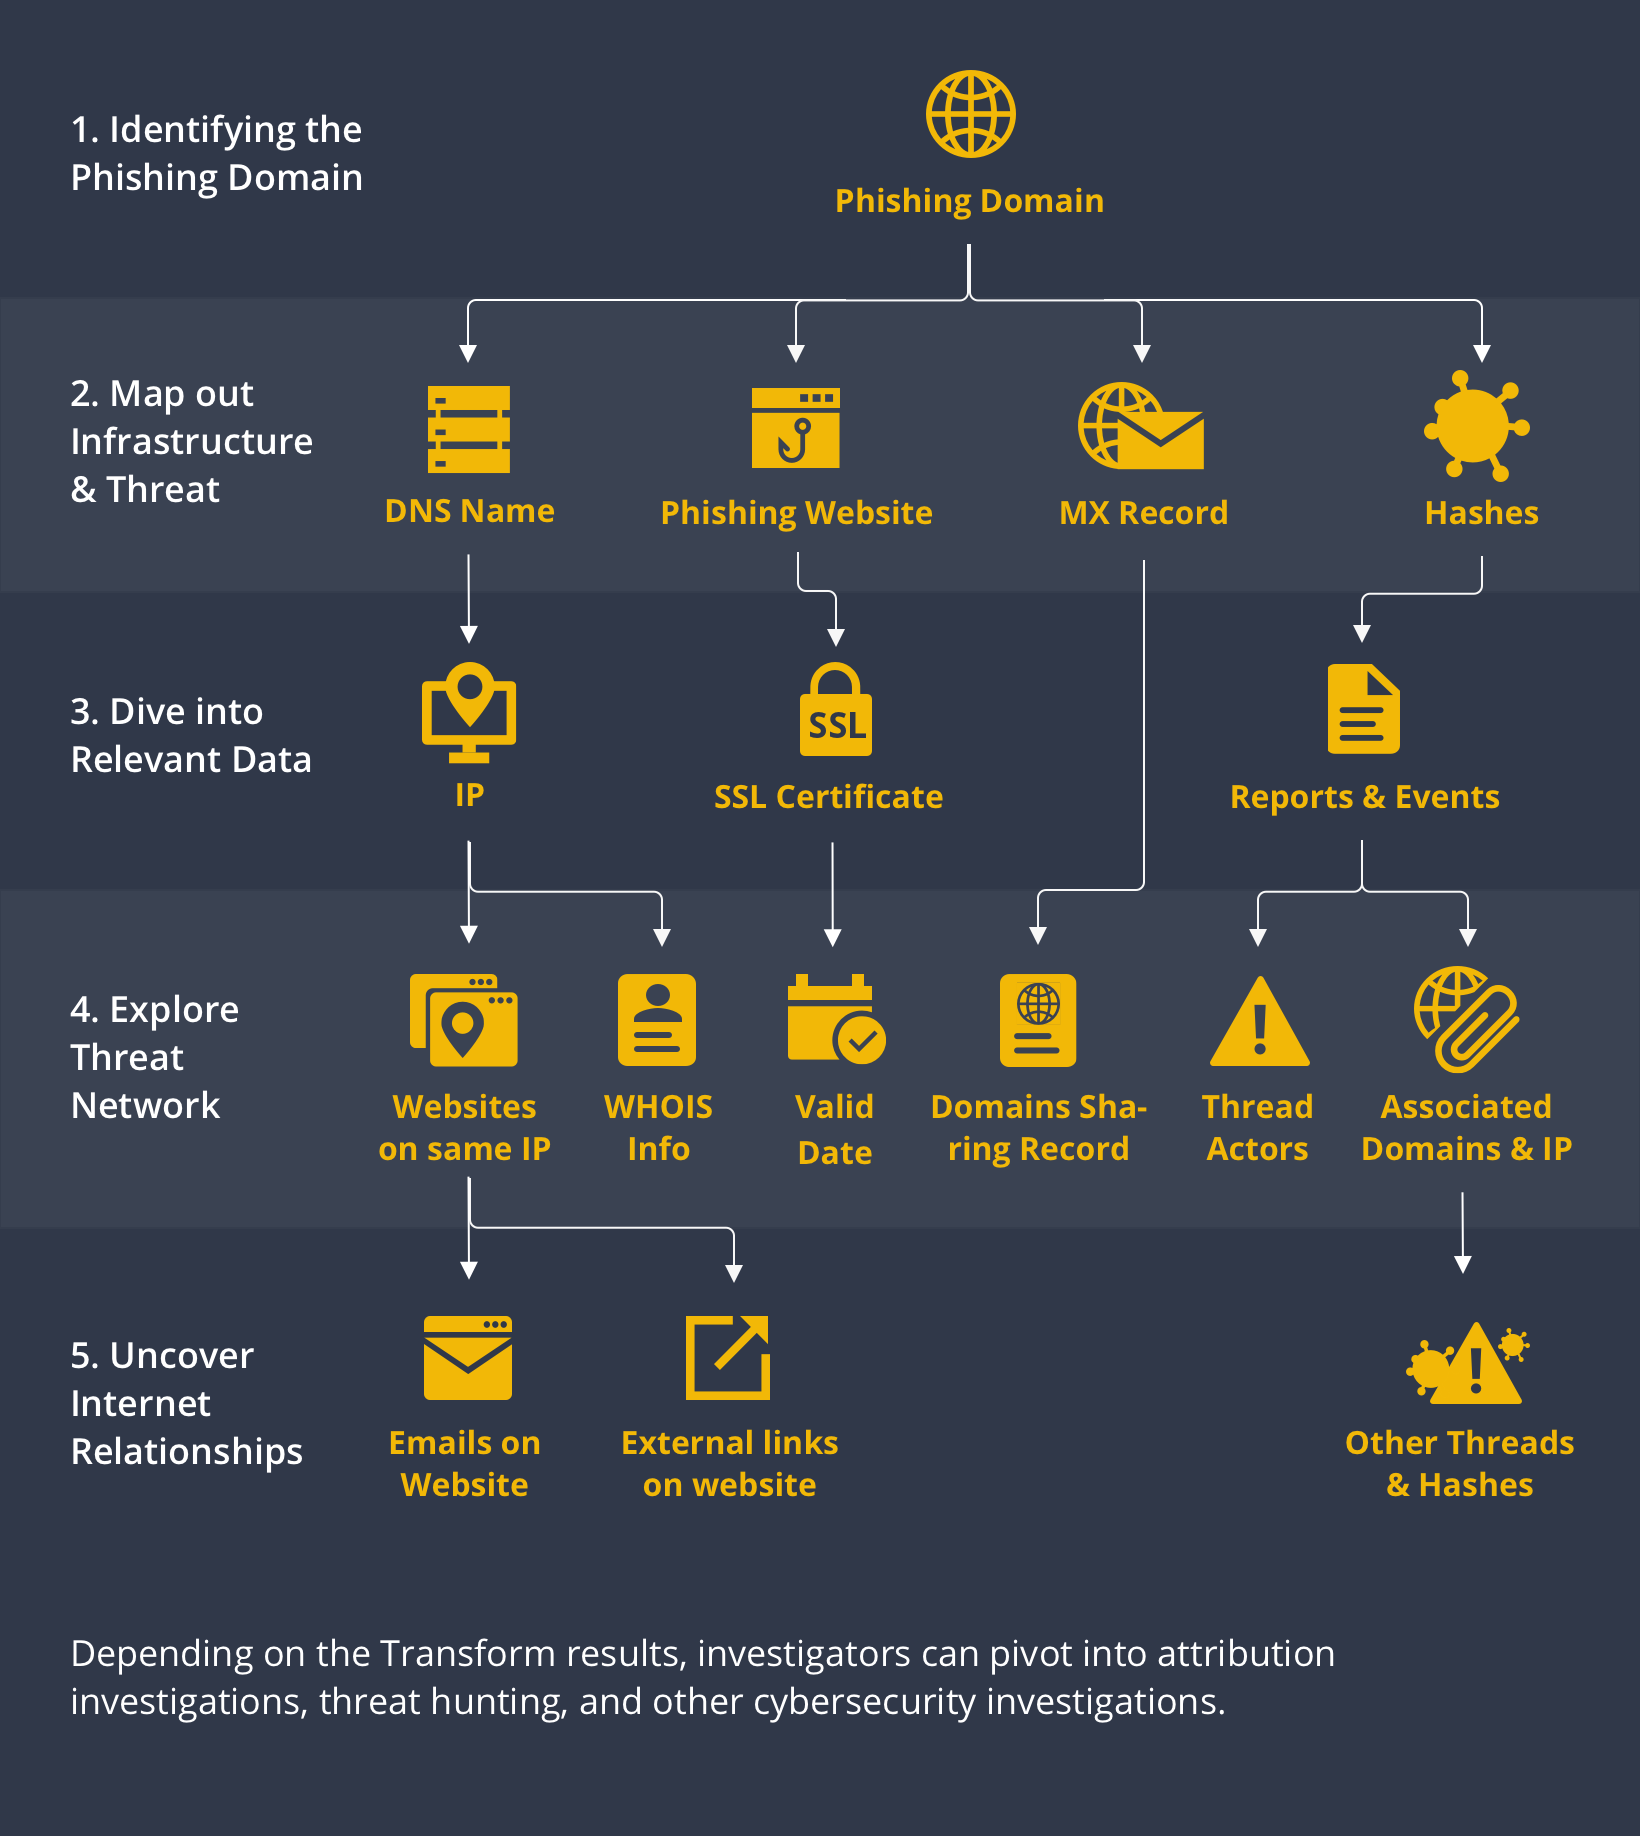
Step 1: Starting with a Phishing Domain 🔗︎
A phishing website may host the mechanisms used by malicious actors to steal information, but the information lurking beneath the surface is what may lead to interesting discoveries. When investigating a phishing campaign, we can start the investigation using the phishing domain as the first Entity on our Maltego graph.
Step 2: Map out Infrastructure & Threats 🔗︎
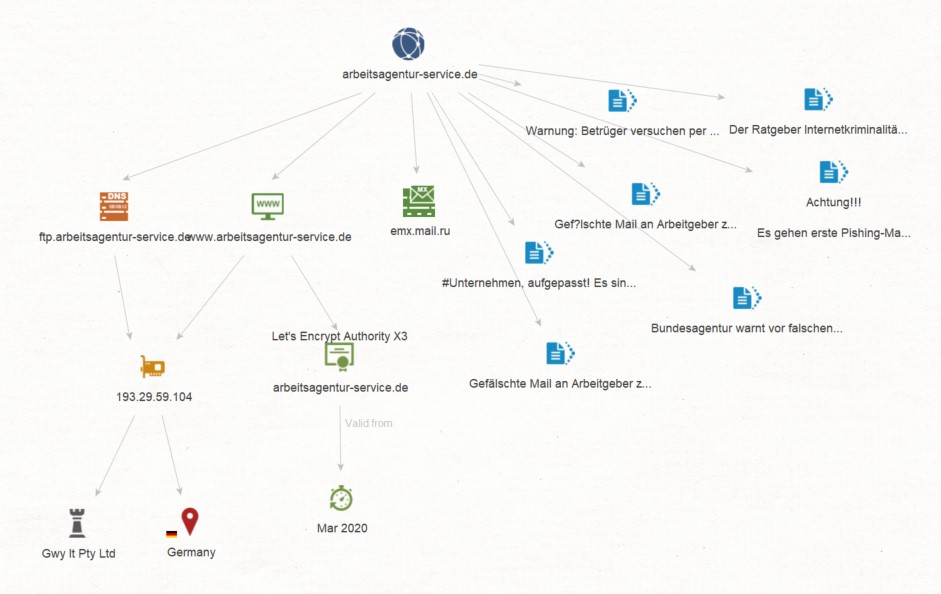
From the phishing Domain Entity, we can run the “From DNS to Domain” Transform - attempting to return the DNS name, website, and MX record of the phishing domain. The data returned may become pivots to our threat network analysis.
From the phishing domain, we can also run Transforms from threat intelligence data integrations such as ZETAlytics Passive Massive or ATT&CK - MISP to find hashes connected with the domain. This will help us identify whether or not the phishing campaign is associated with malware attacks, and potentially uncover the threat actors behind it.
Step 3: Extending Relevant Information 🔗︎
Once we have the DNS Name and Website Entities, we can find the IP address hosting them. From the Website Entity, we can go on to query the website’s SSL certificate and issue date.
If any hashes are returned from Step 2, we can also proceed to run Transforms from ATT&CK - MISP or VirusTotal to discover what the existing hash reports indicate.
Step 4: Explore Threat Network 🔗︎
Using the IP address found in Step 3, we can continue looking for other websites hosted on the same IP address that may otherwise seem unrelated.
We could also take a different approach and query the WHOIS databases for the IP address, and see if we can find its registered information such as email address, phone number, location, or even a name.
If malware and threat reports are returned in Step 3 from the hashes, we may also discover information related to the threat actors, their TTPs, and other domains and IP addresses identified as part of the larger infrastructure.
Step 5: Uncover Internet Relationships 🔗︎
Phishing attacks are often a numbers game, whereby the threat actors behind them launch multiple campaigns masked behind seemingly legitimate websites in an effort to capture as many victims as possible.
If you are investigating a phishing threat to improve your company’s internal policies or to report the activities to law enforcement, you may opt to end the investigation at this stage.
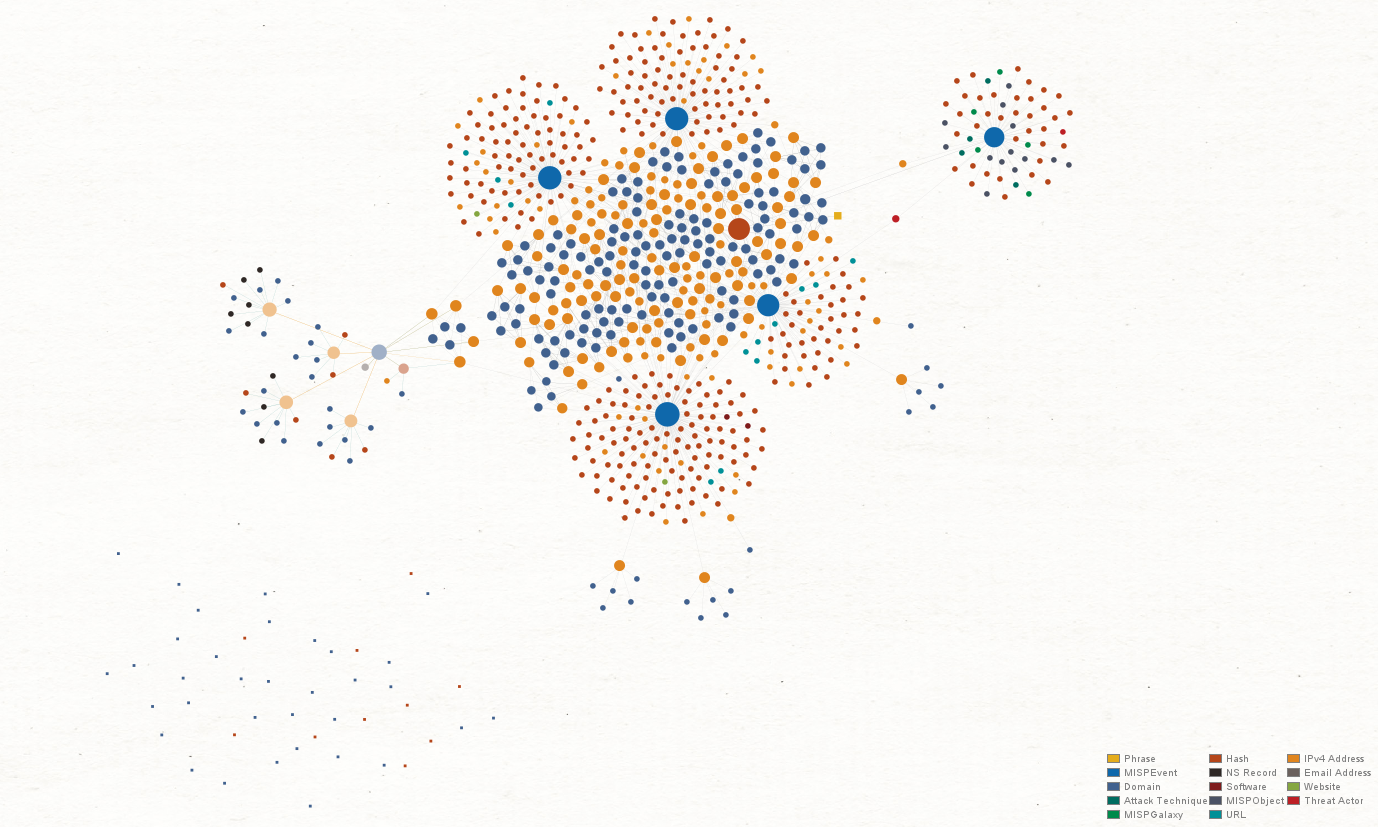
However, if you are hunting down a potential threat and want to understand the network behind it, you can take the results from Step 4 and expand the investigation by looking for other pieces of digital information such as websites, IP addresses, domains, and emails, that may be linked to existing data you have already uncovered.
Use Cases & Demonstrations: Phishing Investigations Conducted with Maltego 🔗︎
To help you better understand how to conduct real-life phishing investigations, we have published a few tutorials and use cases on our blog.
Using Maltego to Identify C2 Malware and Phishing Threats Targeting Your Organization 🔗︎
In this tutorial, we will demonstrate how you can use Transforms from ATT&CK - MISP, VirusTotal Public API, and ZETAlytics Massive Passive to acquire threat intel, find hashes related to certain domains and IPs, and uncover threat actor network.
We hope this two-part Phishing Attacks blog series helps you better understand phishing activities and how to conduct phishing investigations using Maltego.
Download this infographic to share with your friends, families, and colleagues!
Don’t forget to follow us on Twitter and LinkedIn and subscribe to our email newsletter to stay updated on new tutorials, use cases, and product development.
Happy investigating!


